Vintage training
New Jersey’s new CCW qualification standards have been criticized for being too high, too rigid and too much like a police qualification course. The critics are right. This is nothing but a decades-old police qualification course revamped and repackaged for civilians. It does not reflect current best practices, far from it. The tactics and techniques it requires applicants to master were state-of-the-art in the 1990s.
Unrealistic score
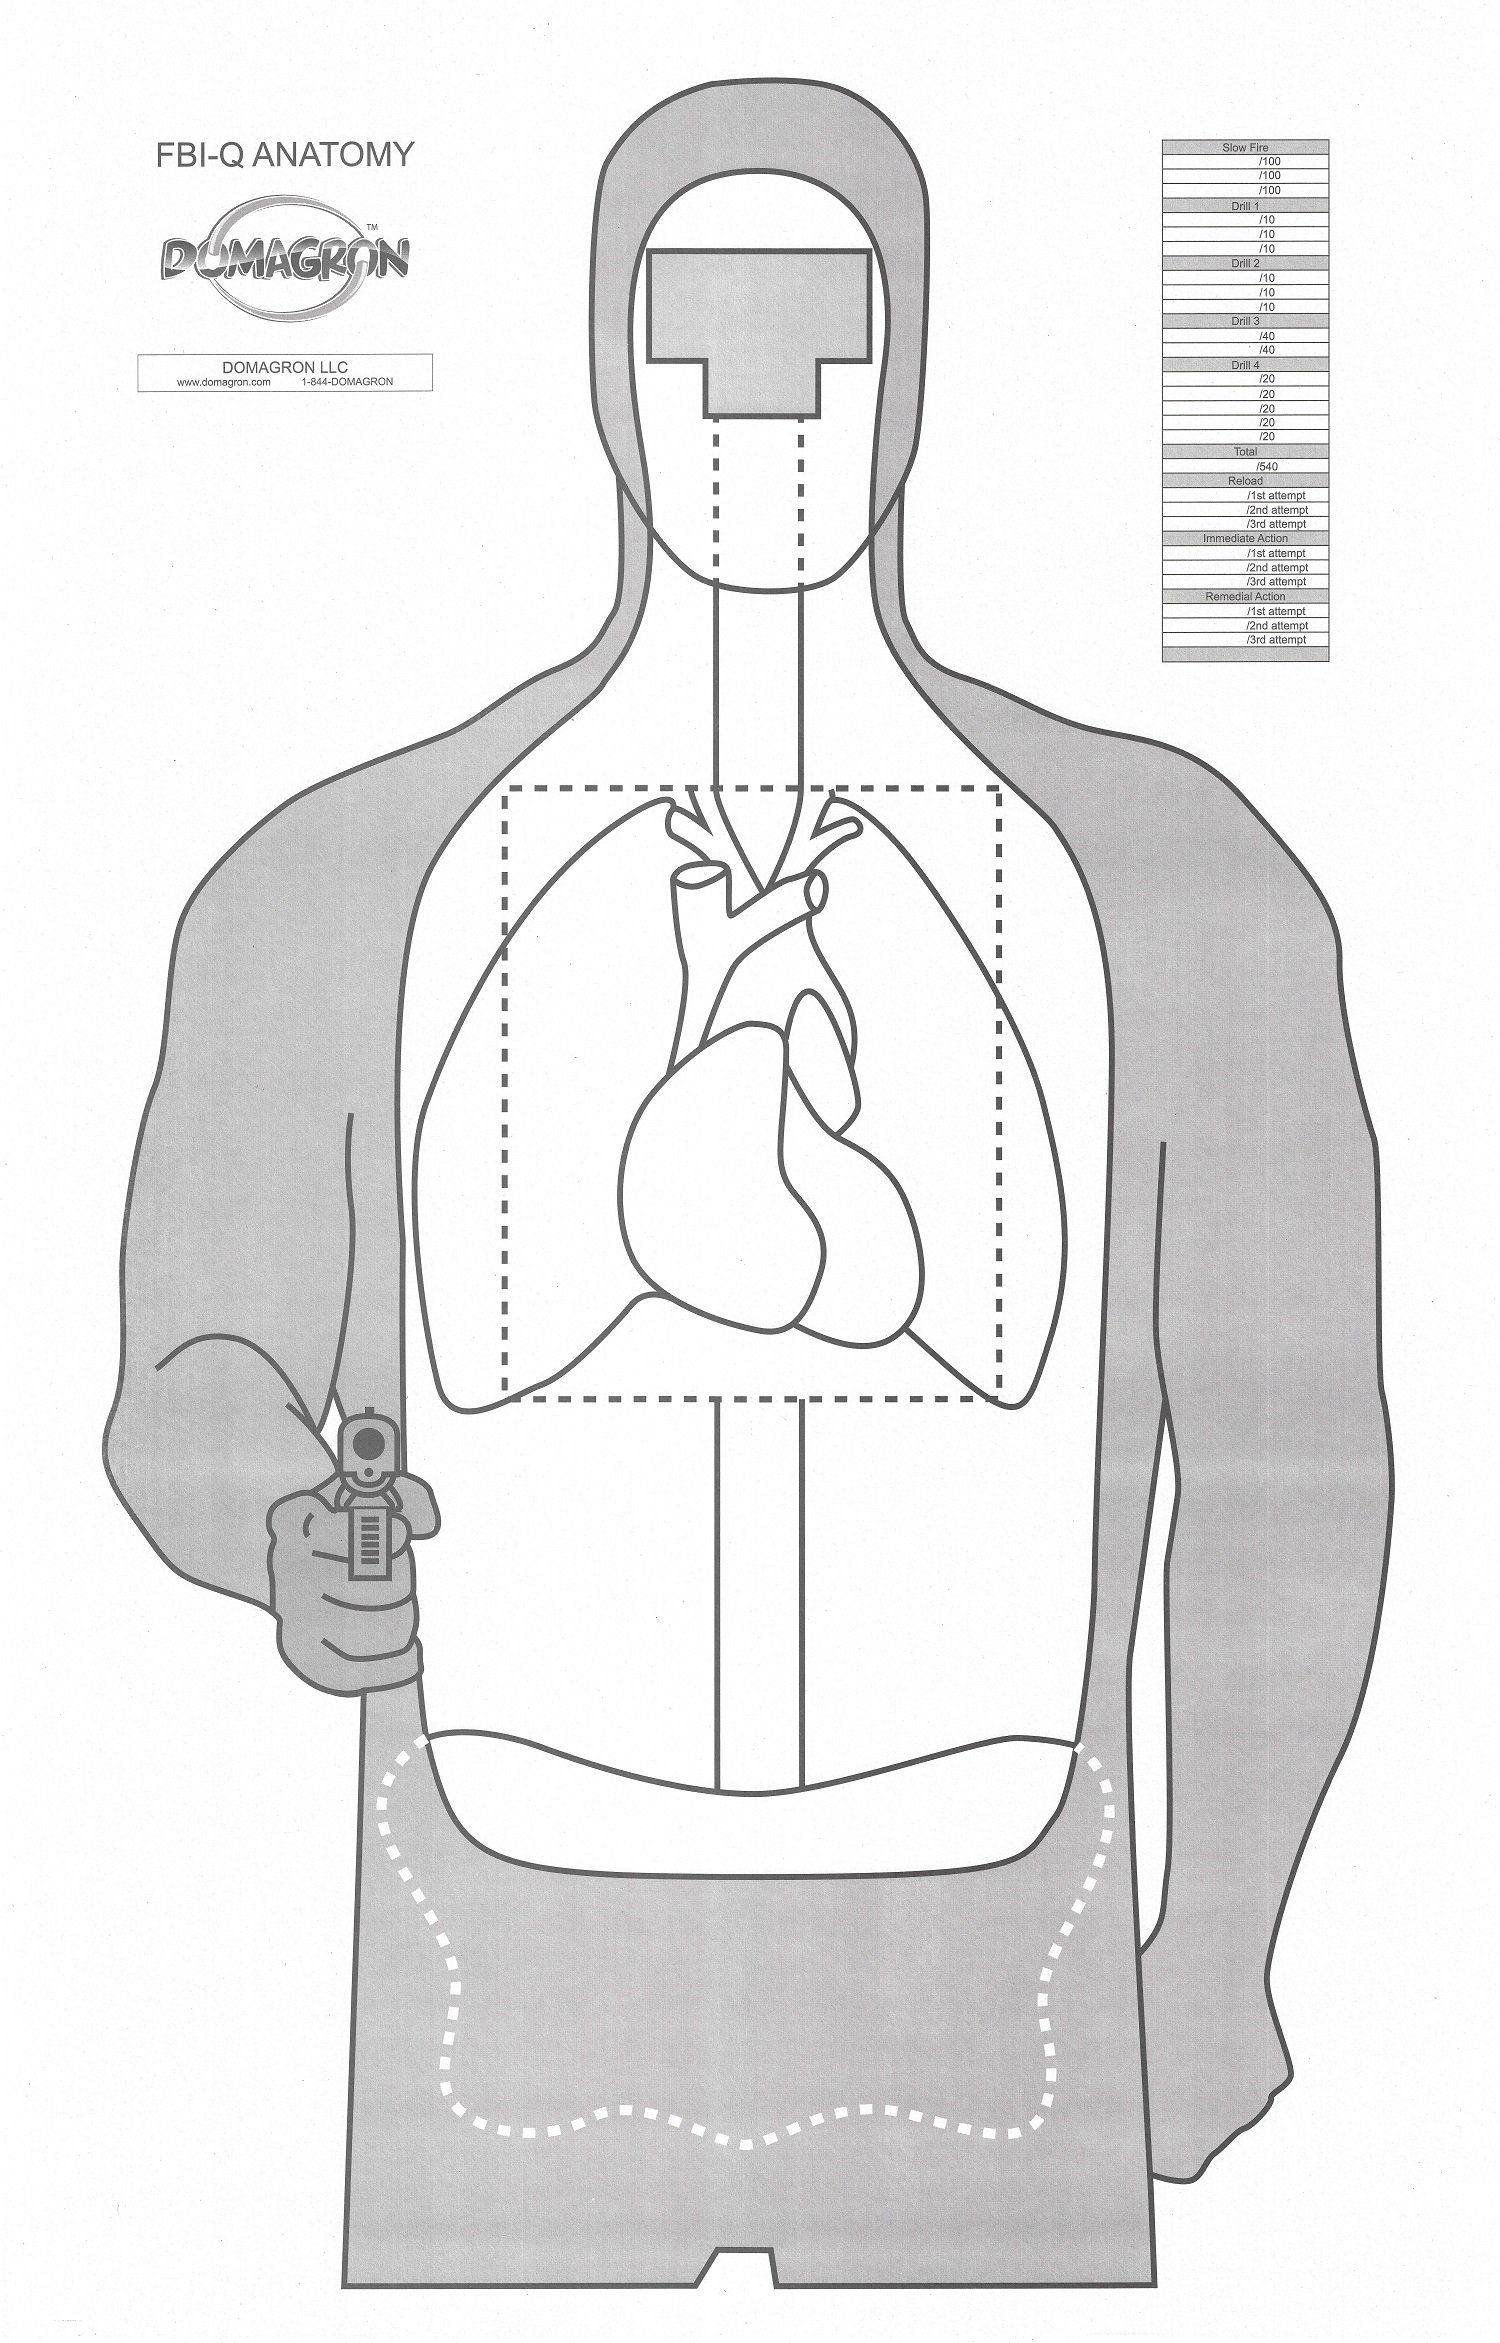
New Jersey requires a 50-round qualification course, which uses an “FBI-type Q-target,” which looks like an oversized milk bottle. To pass, students must somehow achieve a score of 80% or 40 rounds within the border of the Q-target.
25-yards
Applicants must fire four rounds kneeling and three rounds standing at a 25-yard target. This precludes most new shooters from using popular concealed-carry firearms, such as smaller and easier to conceal 9mms, .380s or short-barrel revolvers. Sure, there are some who can make consistent hits at 25-yards with any handgun, regardless of its size. However, many new shooters have difficulty hitting beyond 15 yards.
Twenty-five yards is an unrealistic test for civilian concealed carry. While there are certainly a few incredible exceptions, most deadly-force encounters involving civilians occur much closer, usually within spitting distance.
Open-carry holster
This qualification course is designed to use an open-carry holster, worn either outside or inside the waistband. However, only law enforcement officers can openly carry handguns in New Jersey. Civilians must carry their defensive firearms concealed. Therefore, why test them on their ability to draw and fire from an open-carry holster? Most ranges won’t even allow drawing from the holster, so where can civilians train this technique other than dry firing at home?
Kneeling
In a gunfight, once your knees touch the ground you’re stationary, and stationary targets don’t survive very long.
Shooting from the kneeling position is an old-school law enforcement tactic, not unlike shooting a handgun from the prone position. Testing a civilian’s ability to shoot from the kneeling position is lunacy.
Like drawing from the holster, most private ranges don’t allow their customers to practice from the kneeling position. One range I know that did quickly abandoned the practice after a customer positioned their target too close and put five rounds into the ceiling.
Additionally, there are many shooters who cannot kneel because they suffer mobility issues or use a wheelchair. Are they to be denied their Second Amendment rights because of their disability?
Forcing applicants to kneel violates the Americans with Disabilities Act, which requires “state and local governments including their criminal justice agencies to comply with the ADA.”
New Jersey’s AG and its state police should be ashamed of their “ableist” misdeeds.
Point shoulder
“On command, from a secured holster position, draw and fire 3 rounds in 5 seconds from a point-shoulder position,” the training document states.
Those words haven’t been spoken at an American gun range for quite some time, yet New Jersey still plans to require its concealed-carry applicants to shoot from the point-shoulder position.
The point-shoulder or Weaver stance was developed by Los Angeles County Sheriff’s Deputy Jack Weaver in the 1950s. It fell out of favor among law enforcement tactical trainers decades ago, because by blading their body toward the threat it exposed the officer’s side, which was not protected by body armor.
While the point-shoulder position has remained popular with some competitive shooters, nowadays, most instructors teach a modified isosceles shooting position, which was first developed by Tier One trainers. It’s more natural and not as awkward as the point-shoulder because it makes it easier to absorb recoil and track moving targets.
Offhand
New Jersey requires concealed-carry applicants to draw using their strong hand, transfer their weapon to their support/weak hand and then fire three rounds in two seconds at a 5-yard target.
Offhand shooting requires constant practice because it is not a natural skill. While it is a prerequisite for police and military shooters, it has no place in a qualification test for civilians – other than to prevent them from achieving a passing grade.
Besides, has there ever been a documented defensive shooting where a civilian was forced to transition their handgun to their off hand?